Thursday 29 August 2013

In a bind

This week has seen me putting the binding on for my Morrell quilt.


Sarah Morrell quilt Di Ford pattern
Cutting the 2 1/2" strips and joining them together - what a lot of binding!
Sarah Morrell quilt Di Ford pattern
Cutting off the excess wadding and backing

Sarah Morrell quilt Di Ford pattern
Sewing the binding on with a walking foot - I don't use any pins.
Sarah Morrell quilt Di Ford pattern
Constantly checking that I haven't sewn over my precious dogtooth points (ewww rather close).

Sarah Morrell quilt Di Ford pattern
Hand sewing down onto the background.
Still love the quilting, Katrina has posted some pictures of it on her blog here.
I've just turned the corner after completing one side of the binding. As you can imagine this quilt is just too large and cumbersome to take on the bus so it's going to take awhile to finish at home. So, what am I sewing whilst commuting on the bus?

Auntie Green's Garden

Auntie Green's Garden

After I had sewn down one of these flowers for Auntie Green's Garden I wondered why the petals weren't meeting and I realised that I'd cut the circles too small. I didn't have time for more fiddly preparation so I grabbed this instead...


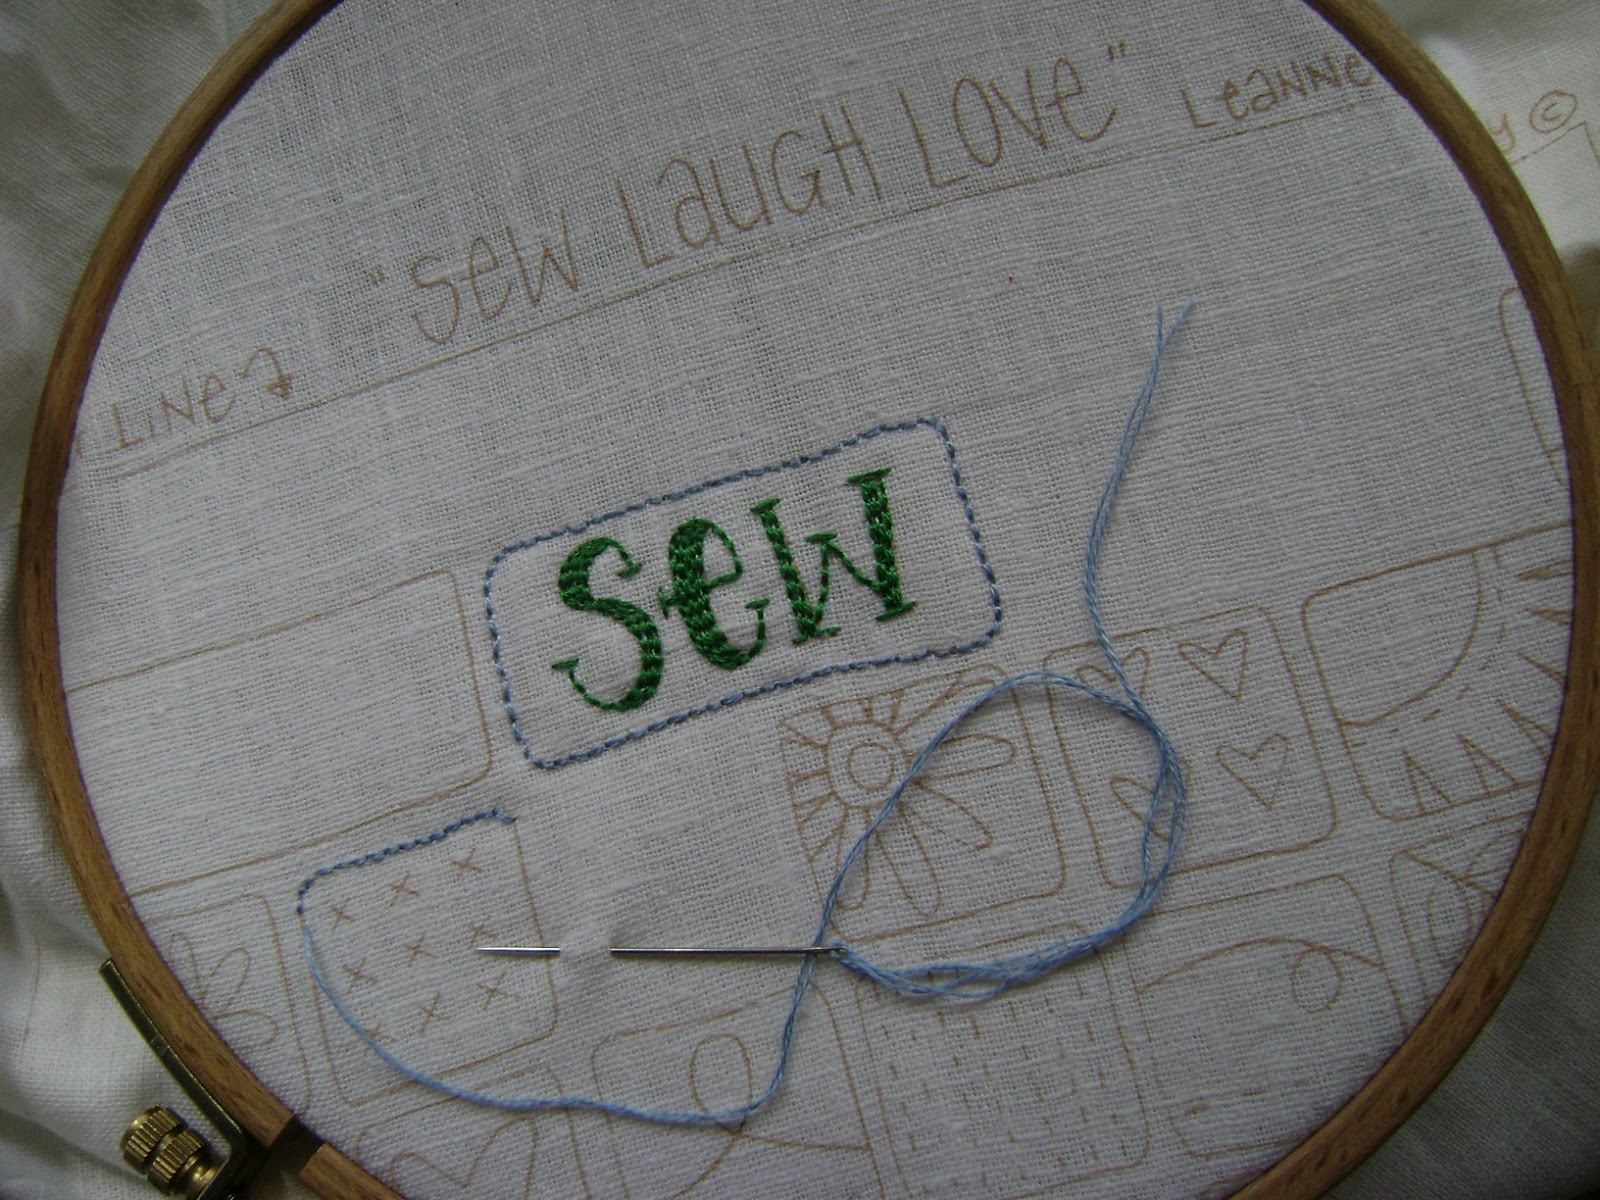
...the 'Sew Laugh Love' stitchery by Leanne Beasley that I just happened to have ready. I was inspired by Nicola's finish last month so I had mine prepared just in case. It was really nice to do some embroidery for a change.

On a shopping note, it's amazing what you can pick up in Ikea these days...


My doughnut and dead bird fit in there perfectly :) 


I didn't believe this beautiful orchid was real but it is. The plant and the pot together were cheaper than a bunch of flowers - nice one!

Cheers
Carole

Friday 23 August 2013

Excitement +

I got THE phone call last Wednesday from Katrina to say that my Morrell was finished - how exciting! My sister and I picked it up yesterday and I could barely believe that it's my quilt (I'm still pinching myself) - I'm just thrilled with how it has been so beautifully quilted by Katrina
Here are just a few pics of some of the blocks...


Sarah Morrell Quilt pattern by Di Ford

Sarah Morrell Quilt pattern by Di Ford

Sarah Morrell Quilt pattern by Di Ford

Sarah Morrell Quilt pattern by Di Ford

Sarah Morrell Quilt pattern by Di Ford

Sarah Morrell Quilt pattern by Di Ford

Sarah Morrell Quilt pattern by Di Ford

Sarah Morrell Quilt pattern by Di Ford

Sarah Morrell Quilt pattern by Di Ford

Sarah Morrell Quilt pattern by Di Ford

Sarah Morrell Quilt pattern by Di Ford

Sarah Morrell Quilt pattern by Di Ford

Sarah Morrell Quilt pattern by Di Ford

Then we went off to Kaye's to purchase the binding, where she let us audtion many different options. I'm so lucky to have a shop literally around the corner where I can do this. Originally I was thinking of using a red stripe but then decided the quilt had enough red in it and thought a teal blue would look better

Sarah Morrell Quilt pattern by Di Ford

You'll have to wait until I've finished the binding before I show you the whole quilt.
I hope your sewing can also bring you some joy this weekend.
Cheers
Carole

Sunday 18 August 2013

Things are blooming

Those plum flower buds I photographed last week have now started to bloom..


and so has my Aunty Green...

Auntie Green's Garden quilt

Auntie Green's Garden quilt


Auntie Green's Garden quilt

Some people have asked how I do my circles, basically I just treat them same as my other appliqué pieces. However I don't trace them straight off the pattern, instead I use this plastic 'ruler' thingy that I think belonged to one of my sons when they were doing high school maths (I think they're easily available at newsagents or office supply places). It's quite handy as it has ovals, diamonds and other shapes in a range of sizes. First I find a matching sized template on the pattern.


Then I trace around the inside of this template shape. I find it easier tracing around the inside of these template shapes rather than around the outside of a 'normal' template, especially with small circles.I have started using a Frixion pen to do this. 
I know there is some debate about this pen but I'm giving it a go.


 When I'm drawing on the fabric, I have a black mat (mine was made in Japan by Kawaguchi) underneath, which prevents the fabric from slipping around. I then cut around the traced circle with a small seam seam allowance. Depending on the project, I sometimes only cut the seam allowance a centimetre or so in front as I am going to prevent fraying but with AG I have been doing a lot of auditioning, wanting to see what the shapes and fabric combinations look like so I have cut the circles out completely.


I then use a small dot of basting glue on the wrong side, I have been using Roxanne's.


With my project on the light box I then stick the circle onto the background fabric. I have used pins and basting (especially for larger 'paper-cut'style appliqué  before and have used glue not always successfully in the past but Irene is a big fan and she convinced me to use it for AG and it has been great, especially for all the separate pieces and small circles in this quilt.


I do often rehearse first with pins and I'm keeping in the odd pin so that I don't loose pieces on the bus.

Auntie Green's Garden quilt

Anyway I use a fine cotton thread (sometimes I use silk) close to the colour of the piece to be appliqued (this is why I like my donut) and a long fine straw needle (no. 11).


I begin with a knot, wrap the thread 3-4 times around the needle and pull through.


I start by taking the needle just through the appliqué piece on the seam line. 


Then needle turn, on such a small circle I do relatively small stitches.


See how close my thumbnail is to the edge (didn't realise how close til I saw my pics).


Half way there.


Almost finished... 


...just tuck it all in. 


Then through to the back where I do one of those knots that I learnt how to do for hand-piecing.


Then tuck in the tail and snip off the end.


All finished, just need to iron away the Frixion pen marks.


Which I did once I'd finished the other two close by so that I didn't lose their markings (learnt that one by mistake).


Ta dah! 
These are possibly the smallest circles I've ever made at only 3/8" across.

Auntie Green's Garden quilt

As with any technique this is just what suits me.
Cheers
Carole